
How to Design Video Conferencing Room Cabling for Reliable Meetings
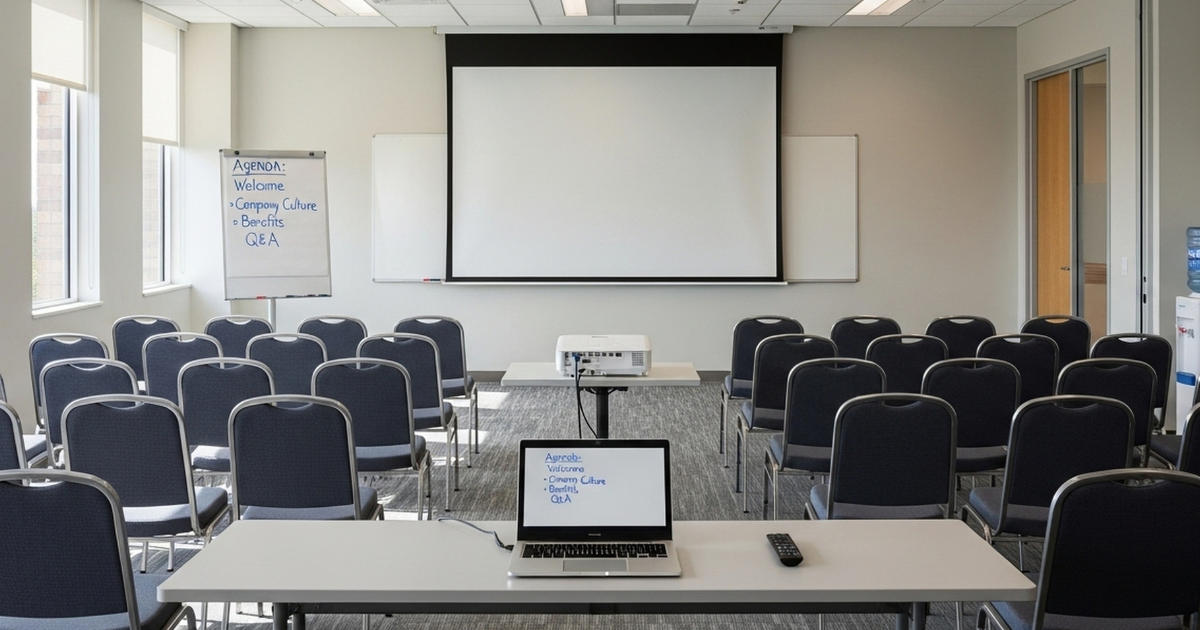
Modern business meetings look very different from those of a decade ago. Static speakerphones, trailing HDMI leads, and unreliable connections have been replaced by smart cameras, wall-mounted displays, integrated microphones, and seamless video calls connecting teams across the world.
But behind every clear video feed and interruption-free meeting lies something that’s often overlooked: video conferencing room cabling.
No matter how advanced your conferencing hardware is, poor cabling design will undermine performance. Lag, dropouts, flickering screens, and audio issues are often caused not by the equipment itself — but by the infrastructure supporting it.
In this post, we’ll explain how to design cabling for modern video conferencing rooms, why structured cabling is essential for reliability, and what to consider if you want meeting spaces that work first time, every time.
Why Video Conferencing Room Cabling Matters
Every component in a video conferencing room depends on data and power connections. Cameras, microphones, conferencing bars, control panels, displays, and room booking systems all rely on stable cabling to function correctly.
When video conferencing room cabling is poorly planned, businesses often experience:
-
Audio or video lag during calls
-
Intermittent signal loss on displays
-
Echo, distortion, or feedback from microphones
-
Dropped connections during hybrid meetings
-
Unreliable performance during peak usage
A properly designed, structured cabling system provides the stable backbone these systems need, ensuring consistent performance regardless of meeting size, duration, or location of participants.
Step 1: Plan the Room Layout Before Running Any Cables
Successful cabling design starts with understanding how the room will actually be used.
Before any installation begins, confirm the location of:
-
Wall-mounted or ceiling-mounted displays
-
Cameras or all-in-one conferencing bars
-
Table microphones or ceiling mic arrays
-
Speakers and soundbars
-
Control panels and room schedulers
-
Conference table power and connectivity points
This layout determines how many data points, power outlets, and cable routes are required. A certified cabling installer can then design efficient, discreet routes from the comms cabinet to each device, avoiding unnecessary cable runs, clutter, or future rework.
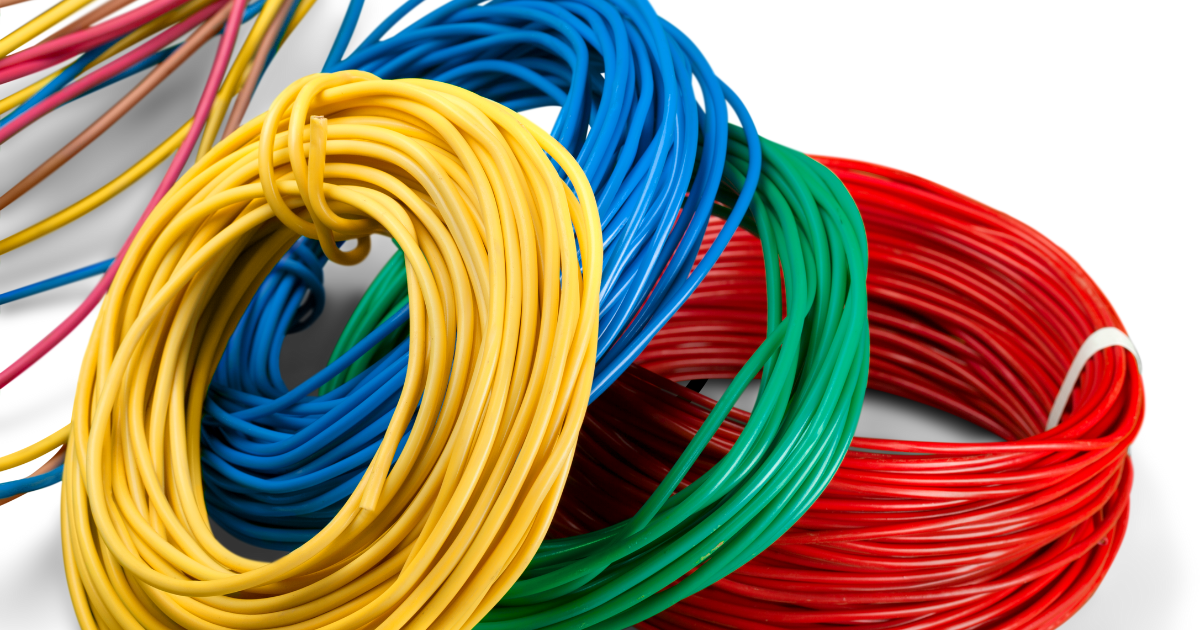
Step 2: Choose the Right Cable Types for Video Conferencing
Not all cables are created equal — especially in modern conferencing environments.
Typical video conferencing room cabling includes:
-
Cat6a data cabling for cameras, control units, and networked AV devices
-
HDBaseT over Cat6a, allowing HDMI, Ethernet, control signals, and power to run over a single cable up to 100 metres
-
HDMI cables for short, direct display connections
-
USB-C or DisplayPort extensions for laptop connectivity
-
Power over Ethernet (PoE) to power cameras, microphones, and control panels
Using Cat6a or higher ensures support for 10 Gbps speeds, low latency, and reliable Power over Ethernet — all essential for 4K video and high-quality audio.
Step 3: Minimise Interference and Signal Degradation
Video conferencing rooms contain multiple electronic systems: displays, lighting, amplifiers, speakers, and power supplies. Without careful cabling design, electromagnetic interference can degrade signals and cause intermittent faults.
To minimise interference:
-
Use shielded Cat6a cabling (F/FTP or S/FTP)
-
Maintain proper separation between data and power cables
-
Avoid tight bends or excessive cable tension
-
Use separate containment routes where possible
-
Ensure correct grounding and bonding
Good cable segregation and shielding protect signal quality and ensure consistent performance — particularly important for high-resolution video and multi-microphone setups.
Step 4: Design for Flexibility and Future Upgrades
Meeting rooms rarely stay the same forever. Technology evolves, layouts change, and user expectations grow.
To future-proof video conferencing room cabling:
-
Install at least two dedicated data ports per room
-
Include spare capacity for future upgrades
-
Provide under-table or floor box connectivity for laptops and guests
-
Use HDBaseT or fibre where room layouts may change
-
Clearly label all connections and ports
A flexible cabling design ensures your conferencing room can adapt without disruptive rewiring or downtime.
Step 5: Keep Cabling Neat, Accessible, and Professional
Messy cabling causes more than aesthetic issues. Poor airflow can lead to overheating, while tangled cables make troubleshooting slow and risky.
Best practice includes:
-
Using Velcro wraps instead of cable ties
-
Keeping patch leads short and clearly labelled
-
Mounting wall plates and outlets flush
-
Managing slack neatly in trays or cabinets
A tidy installation improves performance, simplifies maintenance, and creates a professional impression for clients and visitors.
Common Cabling Mistakes in Video Conferencing Rooms
Many video conferencing issues stem from avoidable cabling mistakes, including:
-
Relying solely on Wi-Fi for cameras and displays
-
Mixing Cat5e with Cat6a in the same room
-
Installing no spare data points
-
Running power and data cables together
-
Skipping testing and certification
These shortcuts often work initially — but fail under real-world usage. Structured cabling avoids these pitfalls and delivers long-term reliability.
The Role of Professional Installation
Video conferencing rooms combine IT and AV systems, which means installation requires expertise in both disciplines.
A professional cabling installer will:
-
Design routes that meet performance and fire-safety standards
-
Test and certify every cable run
-
Coordinate with AV suppliers and IT teams
-
Document ports, patch panels, and cable IDs
Many conferencing platforms and hardware manufacturers also require certified cabling for warranty and performance assurance. Professional installation removes guesswork and prevents costly rework later.

FAQs: Video Conferencing Room Cabling
Q1: Can video conferencing equipment run on Wi-Fi alone?
Wi-Fi can support laptops and mobile devices joining a meeting, but relying on it for core conferencing equipment is risky. Cameras, conferencing bars, control units, and displays require consistent bandwidth and low latency to function properly.
Wireless connections are more susceptible to interference, congestion, and signal drops — especially in busy offices or during peak usage. A wired connection provides a stable, predictable link that ensures clear video, reliable audio, and fewer disruptions during meetings. For business-critical rooms, cabling should always be the primary connection, with Wi-Fi used as a secondary option.
Q2: What is HDBaseT and when is it needed?
HDBaseT is a technology that allows high-definition video, audio, Ethernet, control signals, and power to be transmitted over a single Cat6 or Cat6a cable. This makes it particularly useful in conference rooms where displays or projectors are located far from the control equipment.
It’s commonly used when HDMI cable length limits would otherwise be exceeded, or when a clean, minimal installation is required. HDBaseT simplifies cabling, reduces clutter, and provides reliable signal quality over distances of up to 100 metres — making it ideal for modern video conferencing rooms with wall-mounted or ceiling-mounted screens.
Q3: How many data points should a conference room have?
A modern conference room should have at least two dedicated data points as a minimum. One is typically used for the main conferencing system, while the second provides redundancy or supports additional equipment.
For larger rooms or hybrid spaces, extra data points allow flexibility for future upgrades, guest devices, additional displays, or alternative conferencing platforms. Installing spare capacity during the initial build is far more cost-effective than adding new cabling later, once walls and ceilings are finished.
Q4: Can existing Cat5e cabling be reused for video conferencing?
Existing Cat5e cabling may work for basic conferencing setups, but it often struggles with modern requirements such as 4K video, Power over Ethernet (PoE), and multiple connected devices. Cat5e also provides less protection against interference and has limited headroom for future upgrades.
For reliable, future-proof performance, Cat6a cabling is strongly recommended. It supports higher speeds, better shielding, and more reliable power delivery — all of which are critical for modern video conferencing environments.
Q5: Is cable testing really necessary for AV and conferencing installations?
Yes — cable testing and certification are essential for professional video conferencing installations. Testing confirms that every cable meets performance standards for bandwidth, signal integrity, and PoE delivery.
Without certification, hidden faults may go unnoticed until meetings start failing under real-world conditions. Testing also protects warranties for both cabling and conferencing equipment, provides documentation for future troubleshooting, and gives confidence that the room will perform reliably from day one.

Conclusion: Build Meeting Rooms That Work First Time
Reliable meetings don’t happen by accident. They’re built on properly designed video conferencing room cabling that supports today’s technology and tomorrow’s upgrades.
By planning cabling early, choosing the right standards, and investing in professional installation, businesses can create meeting spaces that deliver clear communication, minimal disruption, and long-term value.
Call to Action
Planning a New Video Conferencing Room or Office Fit-Out?
If you’re designing or upgrading meeting rooms and want reliable, future-ready performance, cabling should be part of the conversation from day one.
👉 Speak to our team about video conferencing room cabling
We design, install, test, and certify structured cabling systems across the UK — working alongside IT teams, AV suppliers, and fit-out contractors to deliver dependable, professional meeting spaces.


